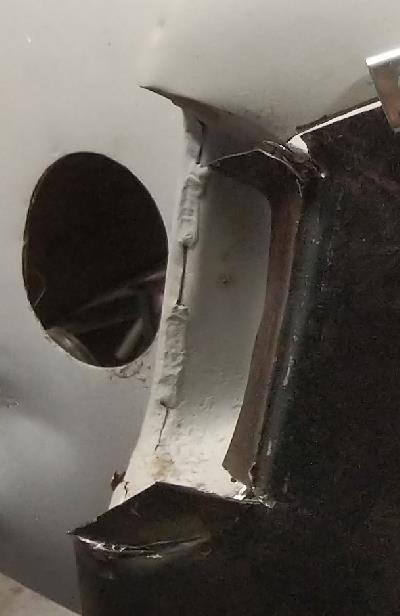
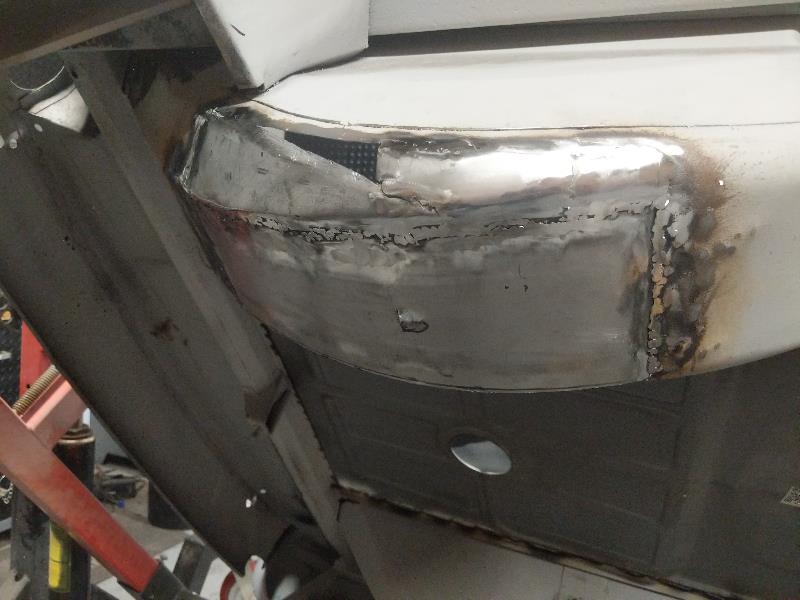
2/10/2020 Started working on the tail light. I decided to cut the fender back and make and weld new pieces in place. The left picture is where I started. I tried a couple times to bend the fender metal to fit in place, but it just wasn't coming out right. The right picture below shows after cutting and grinding the fender back. I made two pieces, bottom and right side. The black line is where the rubber on the tail light goes. It's very important to get the shape correct or else the tail light won't fit flush.

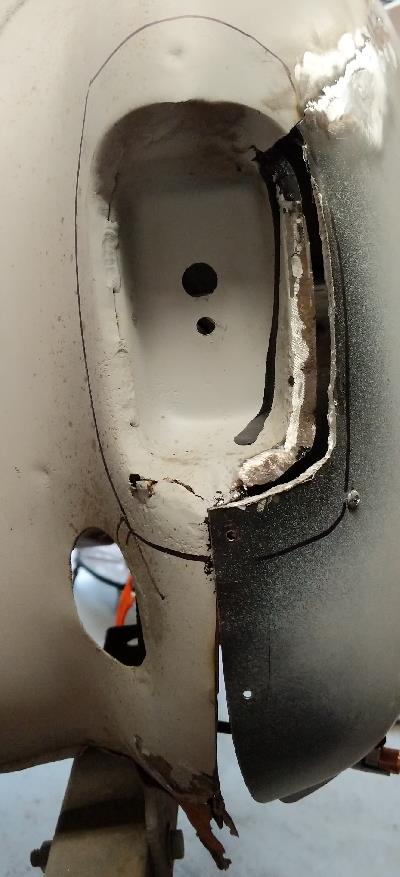
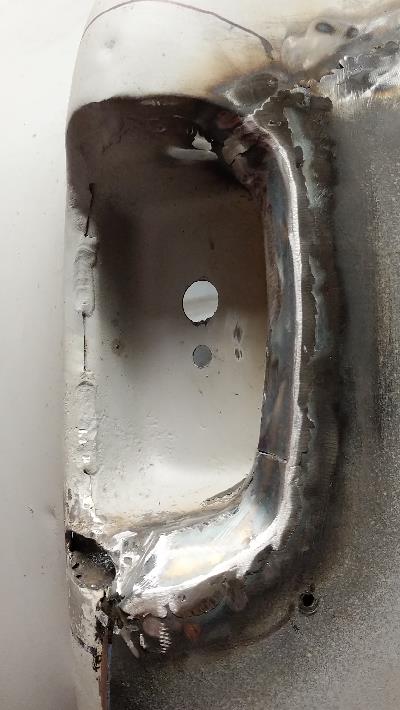
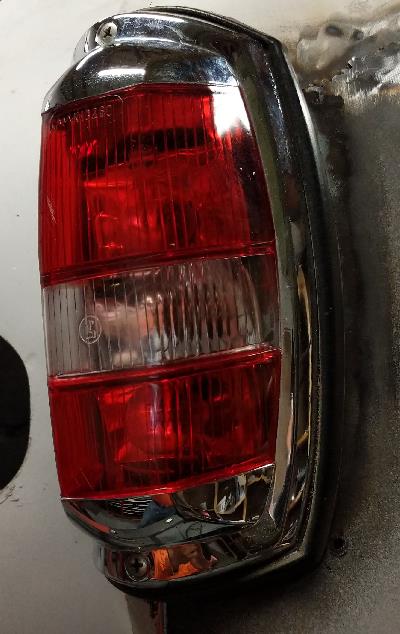
It's hard to really tell from the picture to the left, but if I don't say so myself, it came out great! Below is the light in place. Sits nice and flush all around.
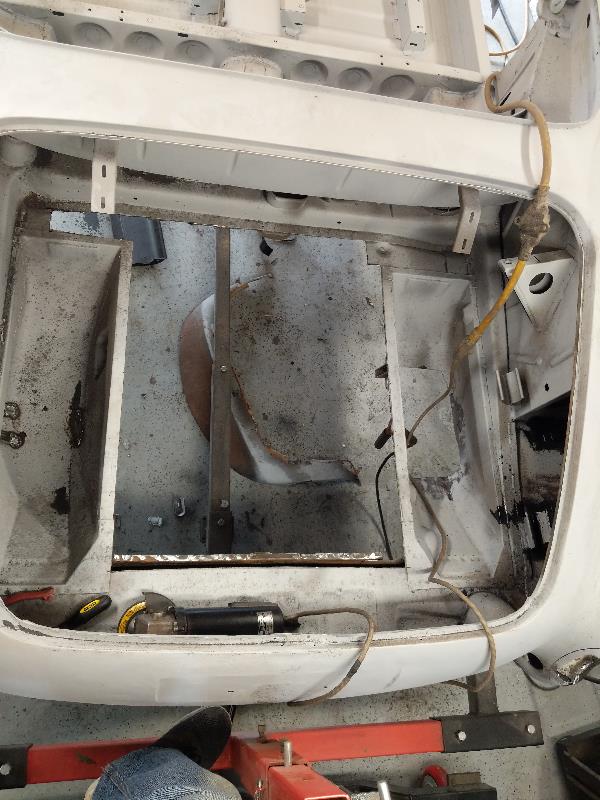
2/11/2020 I'm on a roll. Cut out the trunk floor today. Just need to cut the new one to fit the hole, using the one I cut out as a template, then weld it in. The floor wasn't rotted but there was areas of heavy rust and very small holes. I was thinking of doing spot repairs but decided they were too many and bought a new floor panel.
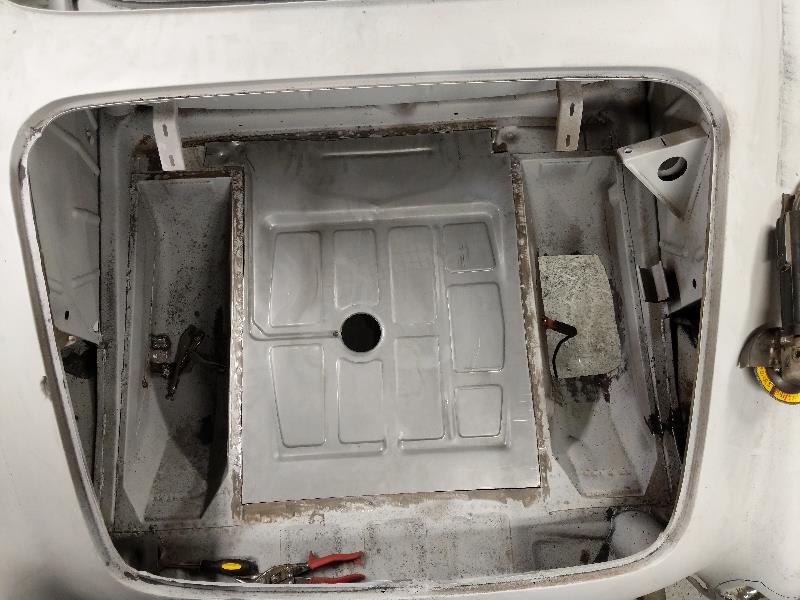
2/12/2020 I cut the new trunk floor using the old one as a template. Now just need to weld it in.
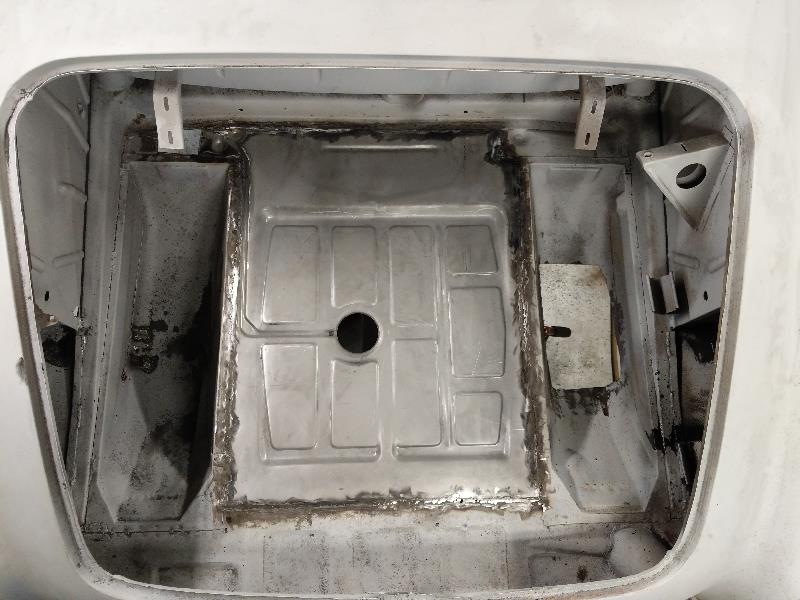
2-15-2020 The trunk floor is welded in place.
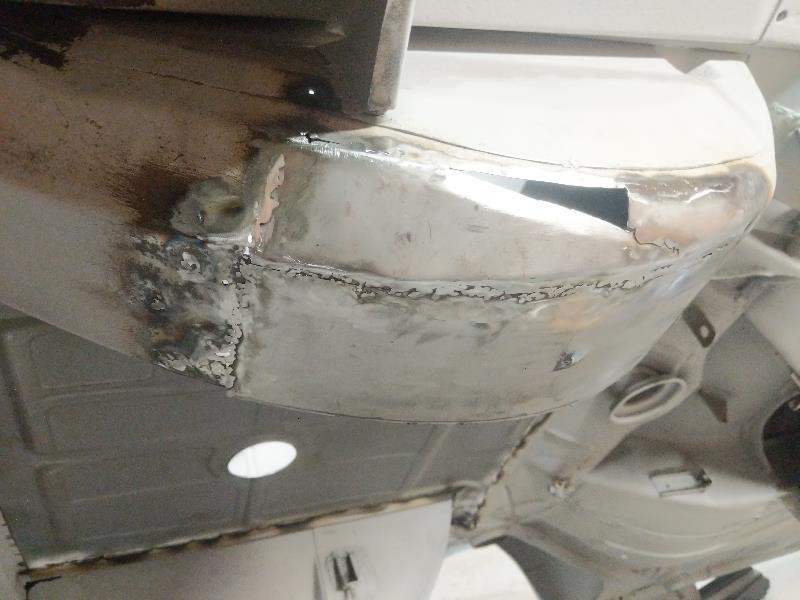
2/17/2020 Back onto the spare tire well. There was a very ugly patch here that was pop rivited in place. The trunk has two spare tire wells. You can see them in the picture above. Have one more triangular patch to make and weld in place, and some more grinding to do. That little dimple in the middle is a drain hole.
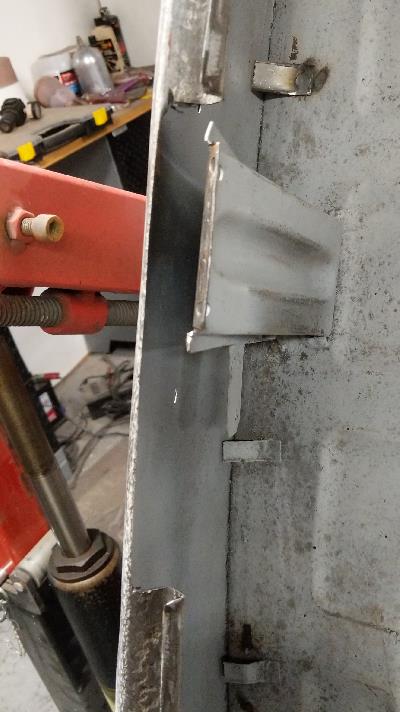
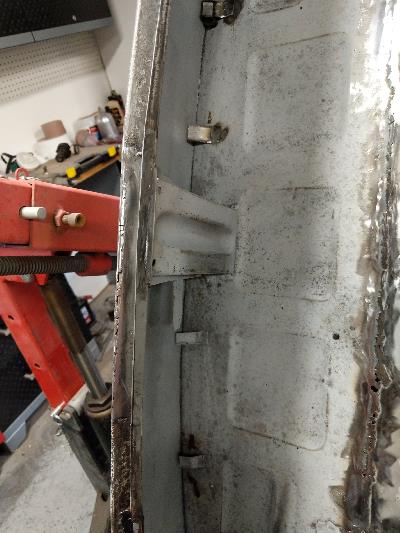
2/20/2020 I finished that little triangle piece on the spare tire well yesterday. I flipped the car over to work on the other side of the spare tire well. I got distracted and started working on the trough for the trunk lid seal. The section I cut out to the right was riddled with holes. I cut it out and will fabricate a new one and weld it in.
I had to make 4 little tabs to hold wiring, two on the trunk floor and two on the trunk floor at the very back. You can see a new one I fab'ed just above the support and an original one just below the support.
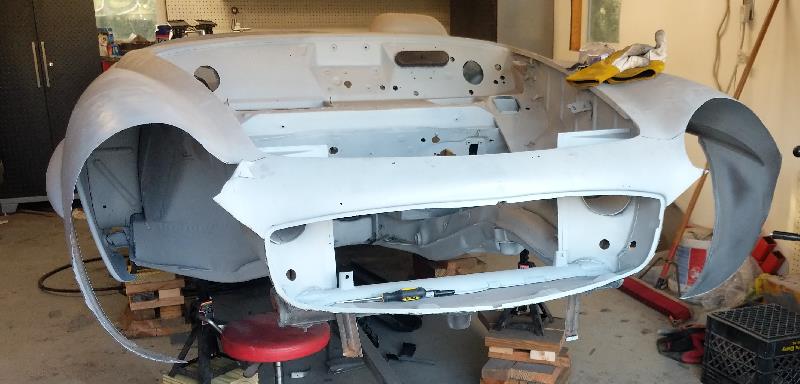
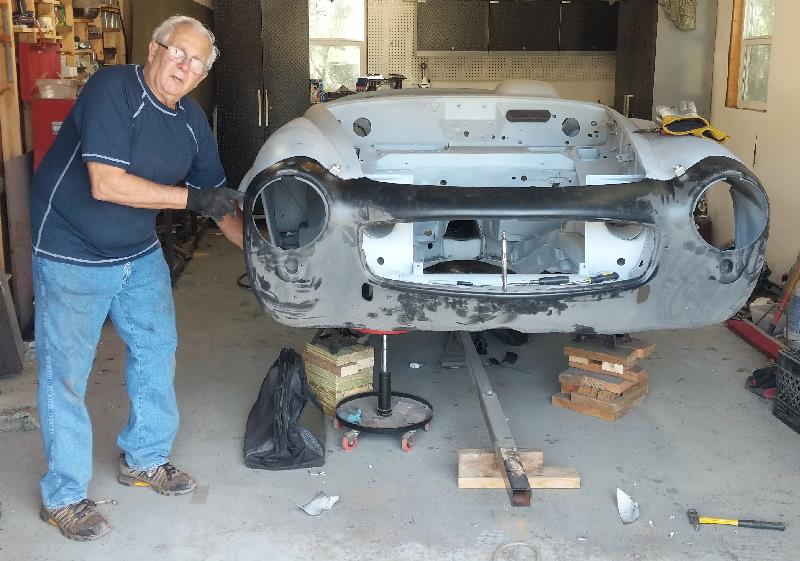

3/11/2020 Lynn parents drove up from Florida. Gary wanted to help with the Mercedes. So it was a good opportunuty to tackle replacing the front end of the car. It would have been very difficult to do it alone. Below is a picture after putting the new front end on and scribing a cutting line. Behind the top center of the grill area is a support part. I ordered a new one figuring it would be easier than cutting out the old one. But when it was delivered, it was the wrong part. So Monday morning the company shipped the correct one. It arrived on Wednesday. It was a reproduction part and was such a bad reproduction that it would have taken a ton of work to make it fit correctly. So we ended up using the original part. So that took an extra couple hours to remove the outter skin from it.
Here is Gary with the new front end in place. It took a bit to get it all lined up and making sure the aluminum hood fit correctly with nice gaps. We must have put it on and taken it off ten times. Had to make sure all the contours were smooth.
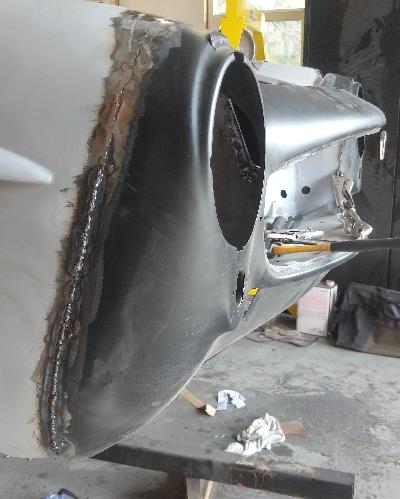
Here it is mostly all welded in place.
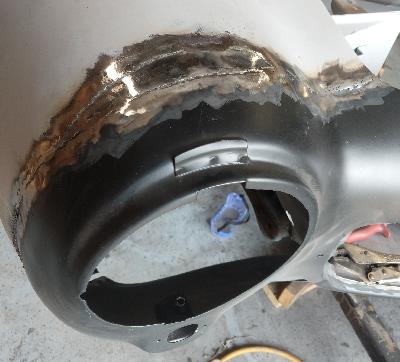
Pretty long welds. The little sliver piece shown in the right picture below fills in a gap between what was cut out of the terrible hack job done by someone prevously and the new part. After the front end was welded in place and most of the welds ground, we fit the hood to see how it looked. Fortunately the fit and gaps were even better than during the previous fit up.