1958 190sl Mercedes restoration
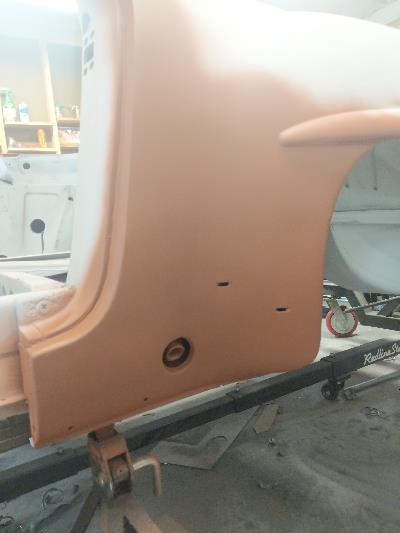
5/14/2020 A few days ago I test fitted the exterior chrome to the car. This is the time to drill screw holes, not later after painting the car. Years ago I bought brand new Mercedes eyebrows for the car, 4 different parts. I had them stored along with the four rather new ones that were on the car. When I took them all out, I had 3 left rear, 3 right front, 2 right rear and only 1 left front. Each is different. Five were new, never mounted. So apparently instead of getting 4 new, I got 5. But there must not have been one for the front left. Like I said, the ones on the car were like new so it's not a problem. Since the right rear quarter panel was new I had to drill holes for the eyebrow, shown below. Each eyebrow is held on with 10 #6 1/4" stainless screws, 40 for the car. Most 190sl parts dealers sold them for $0.30 each. I found a website that has 100 for $7.


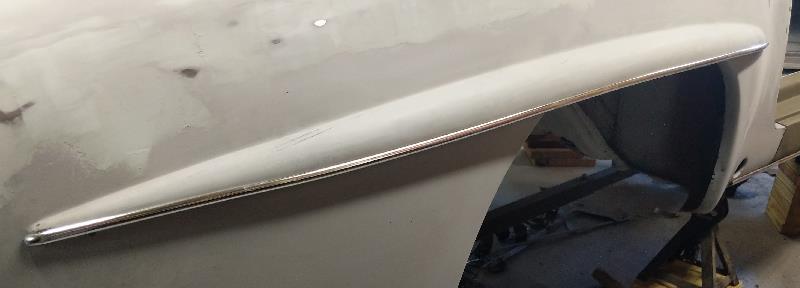
I had to do the same for the stone guards and rocker molding. The car didn't have either when I bought it. I bought new ones on ebay. Since both sides at the stone guards were new, the holes had to be drilled. The drivers side rocker panel was new so those holes had to be drilled.
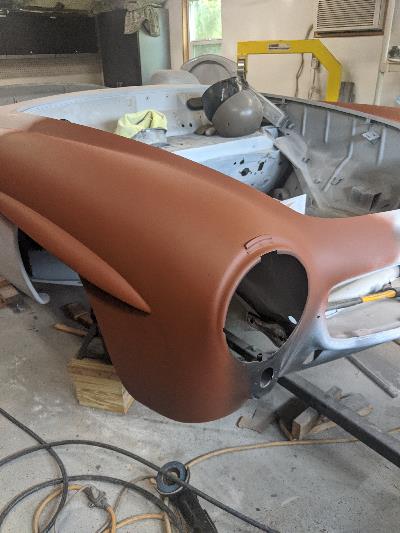
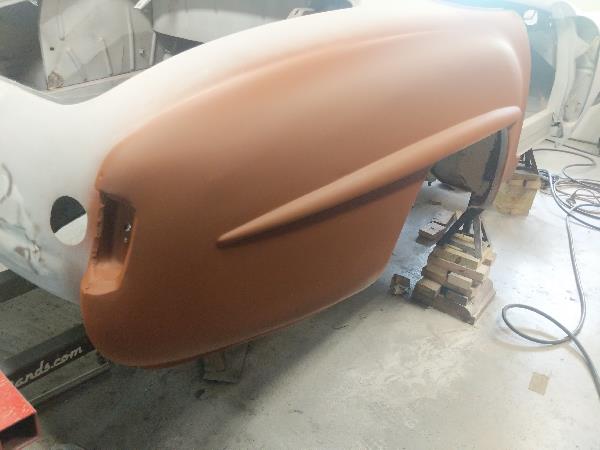
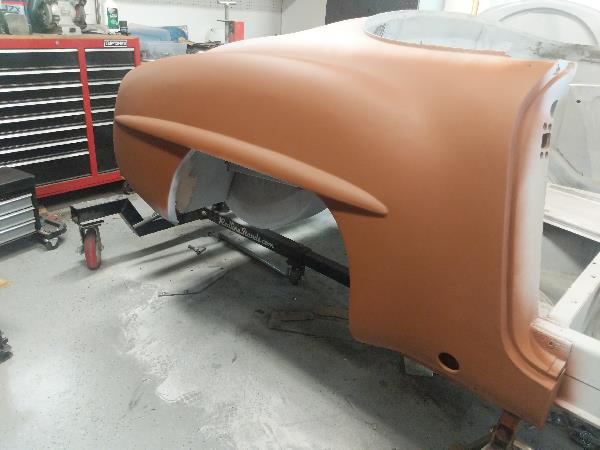
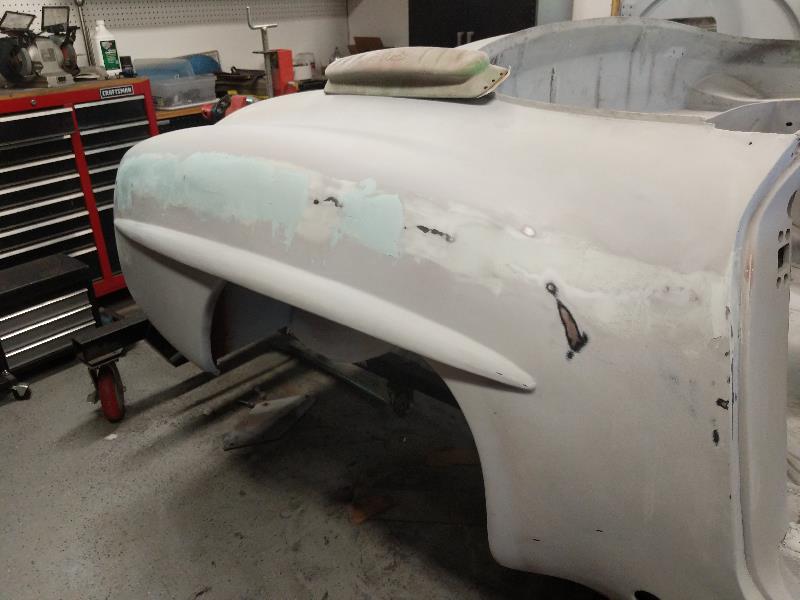
I decided to start some of the finish body work. I need to do it all at the front of the car before putting the car back on the rotisserie. Not yet done in the pictures below.
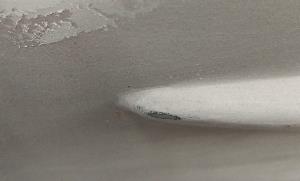

All the body parts I've been using are from a company called K&K Manufacturing. They are all aftermarket parts, not original Mercedes. When I restored my 1962 190sl back in the '70's, I bought all the parts right from the Mercedes dealer. The nose was $220. Today, the nose is $4,500. The down side of doing this, is the quality of the reproduction. The left picture below is the eyebrow on the drivers side of the car, original Mercedes. The right picture below is the replacement panel on the passenger side. Notice how the original sticks out further than the aftermarket part. This effects how the chrome piece fits. The part in the picture above was also aftermarket but needed little working to fit properly. Fortunately they are on opposite sides of the car so most people will not notice the difference.
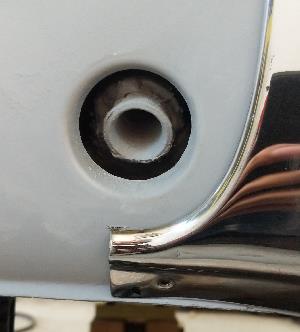
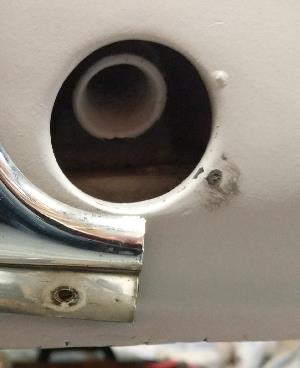
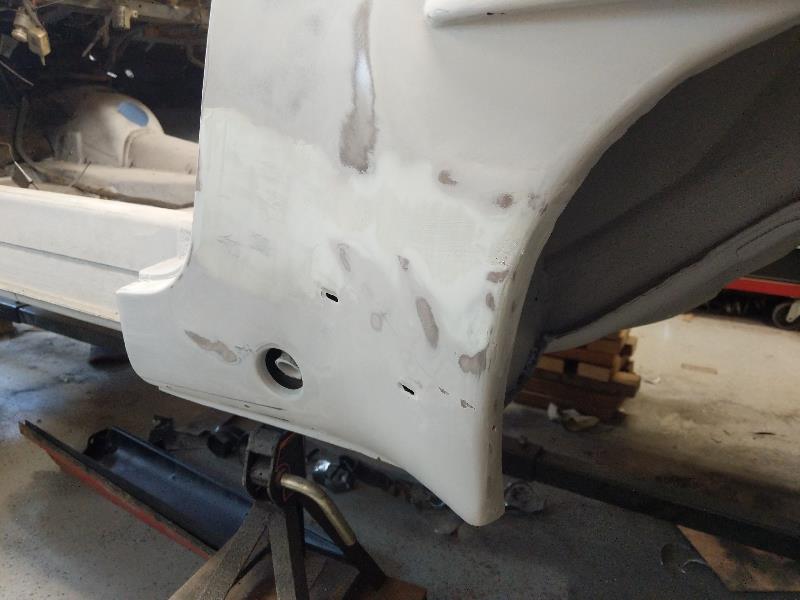
Below is another example. In this case though, both were aftermarket parts from K&K. The left picture was a small patch panel on the drivers side and the right is the replacement short quarter panel on the passenger side. Again, fortunately they are on different sides of the car so you won't see them at the same time so most, other than me, won't notice.
5/24/2020 I continued to do some finish body work. It's hard to tell by looks how smooth it is. You have to slide your hands down the surfaces to see if there are problem areas. After they are very smooth, I'll put down a layer or two of a sandable primer.
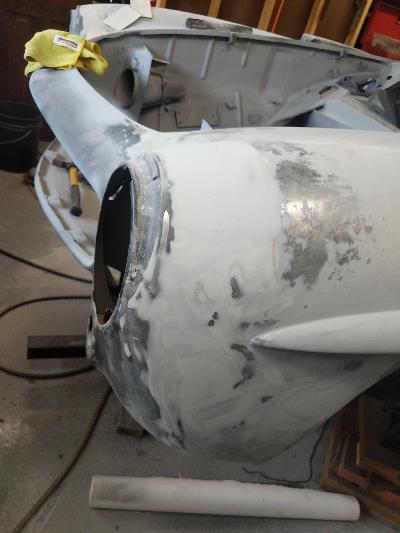


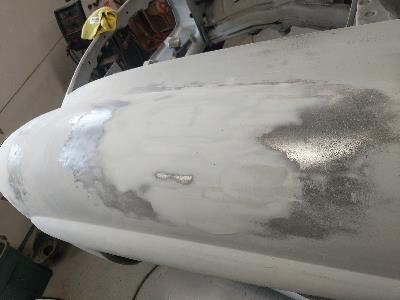
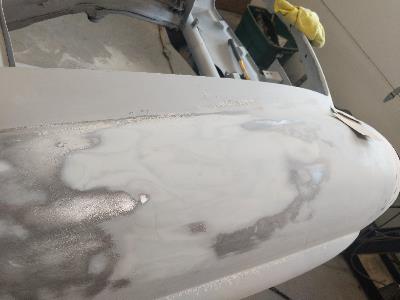
Below shows the back of the weld on the front fender. The inside of the wheel wells are body color so they need to be smooth.
Here are the tops of the front fenders. There were brazed in patches here when I bought the car. The backside of these welds will get smoothed as well.
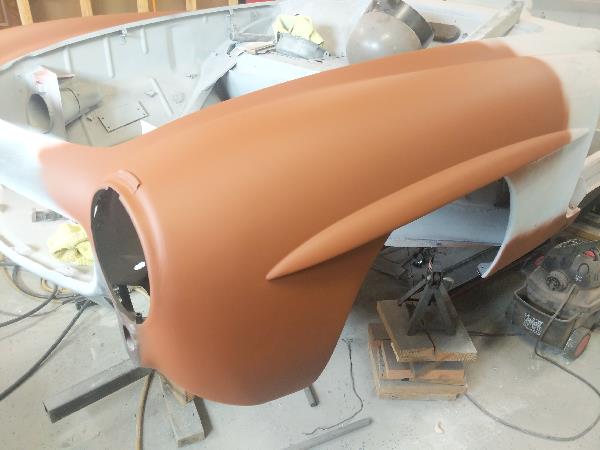
6/13/2020 To see how everything looks, I painted it with a sanding primer. Looks so much better one color. Now I can really see what needs to be done.
