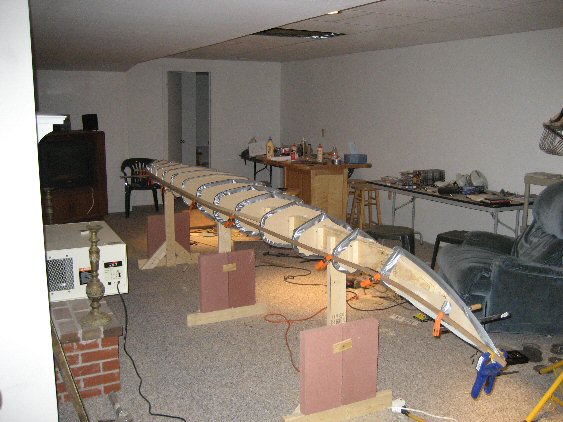
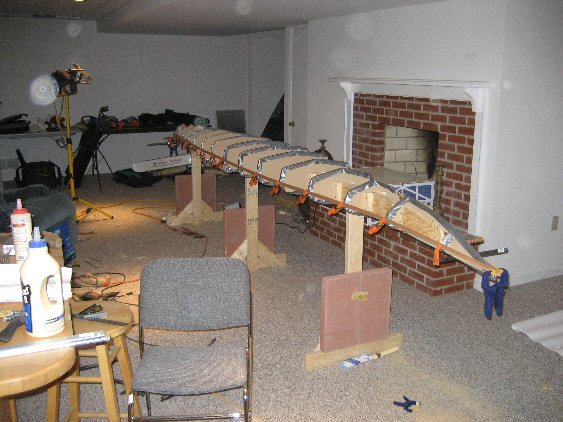
February 6th, 2007. Guess I took a little break!!! It's all Lynns fault!!! :-)


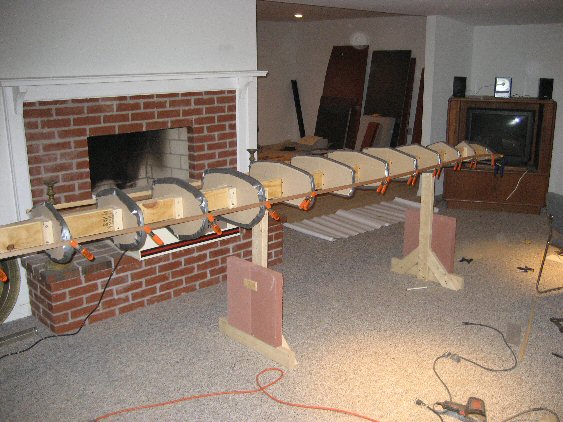
February 10 First two strips glued together on the hull. 60 clamps and I ran out. The first ones always take the longest.
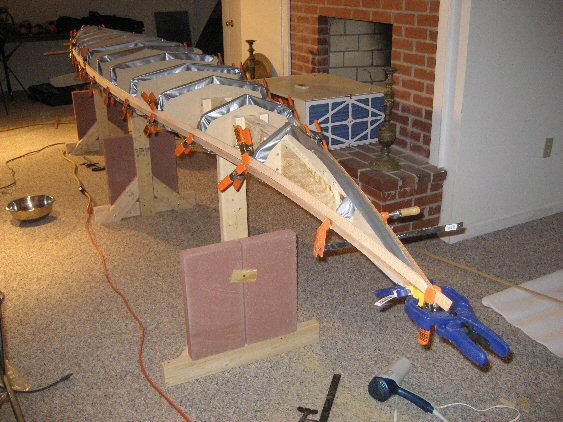
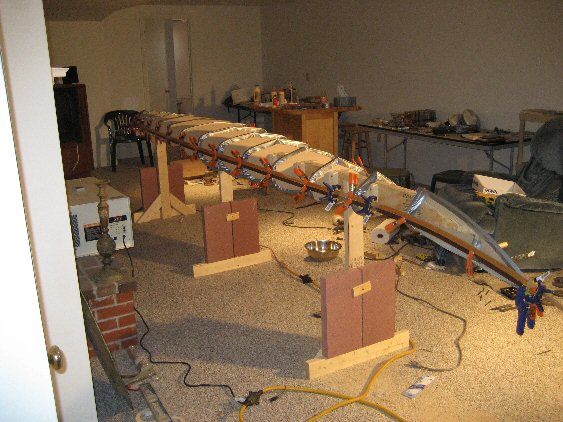
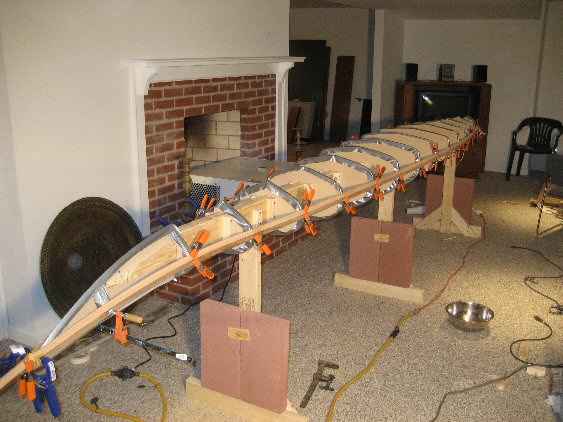
2-12-2007 Starting to take shape. Two rows of 1/2" strips (instead of the usual 3/4") to turn the sharp corners.


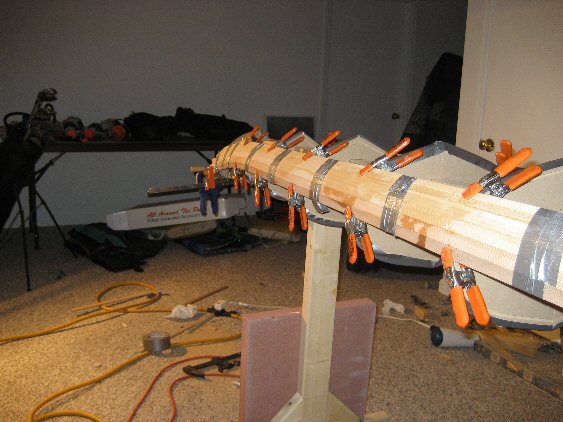
2-19-2007 It's tough turning that sharp corner, see the close-up below.. I think the rest of the bottom is going to be a piece of cake, pretty much flat.
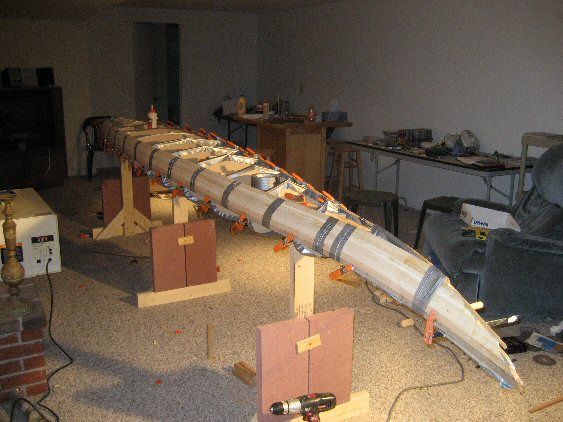
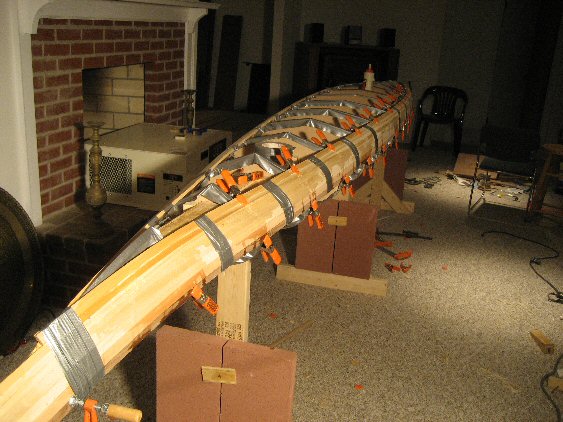
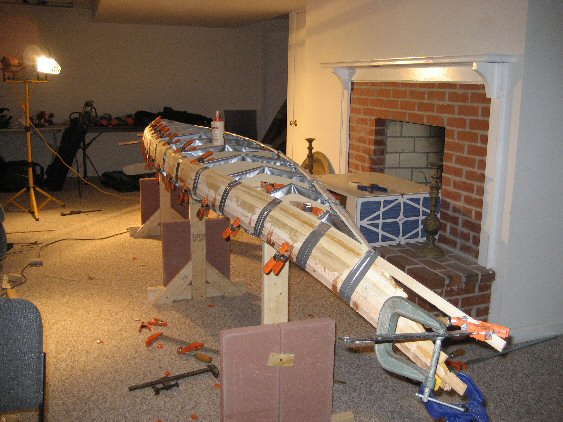
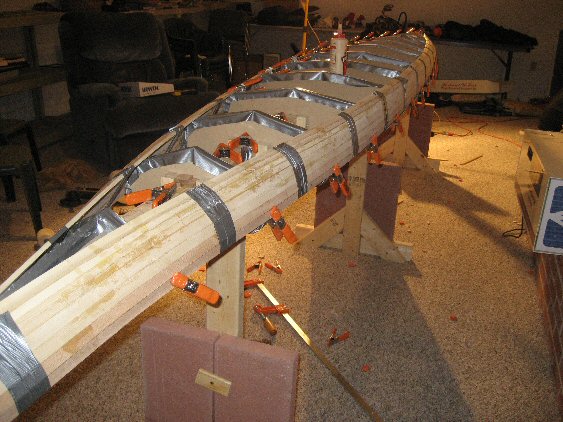
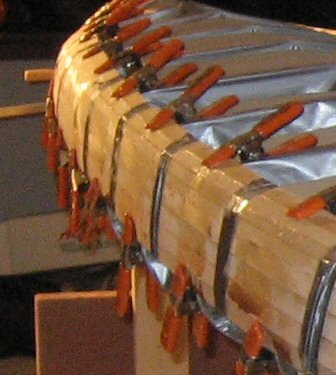
2-22-2007 A few more strips in place. Next four strips go right down the center of the hull. Then it gets a little tedious to fill in the two spaces.
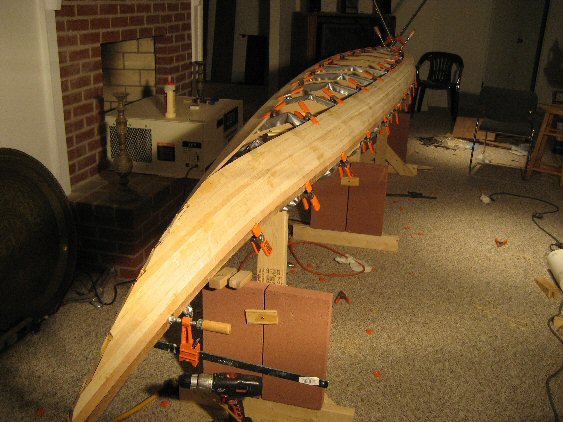
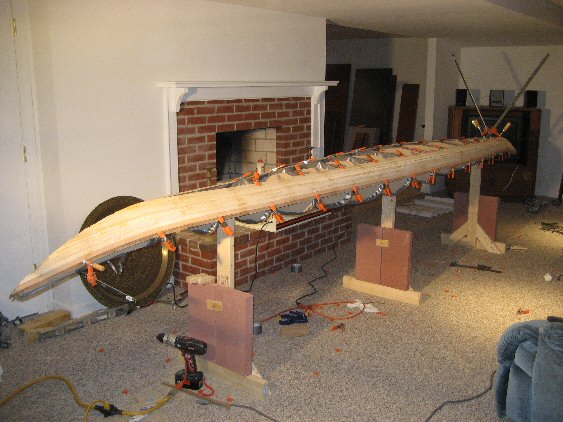
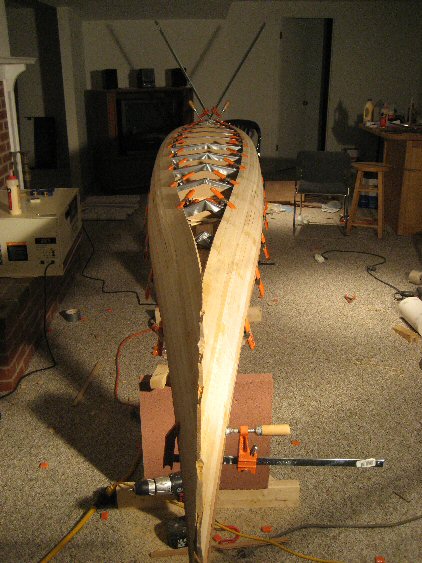
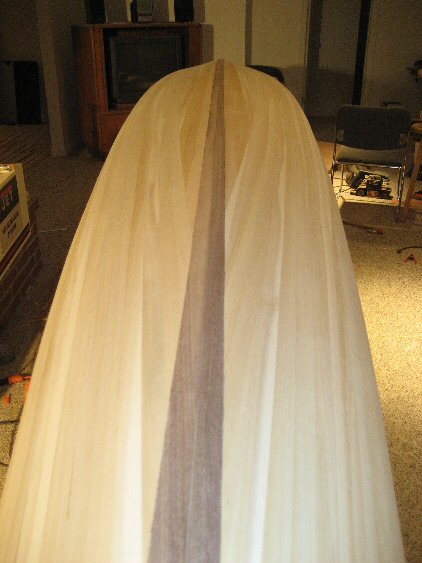
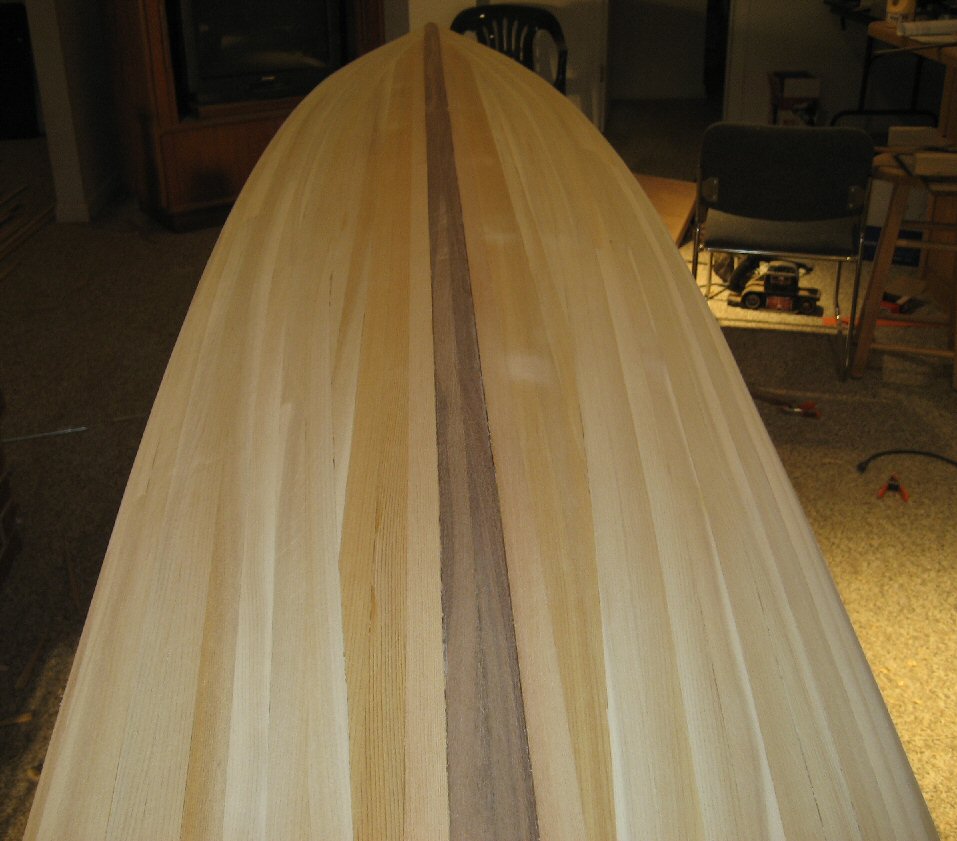
2-25-2007 - Bought a 1/4 inch cove and bead router bit so I could make some strips. Cut some strips of walnut for a strip running end to end. The bow and stern pieces of walnut will get glued to the cedar ends. They will get faired to the walnut strip running down the keel.
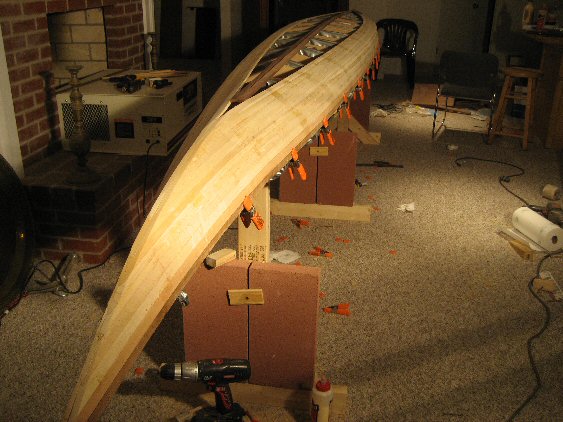
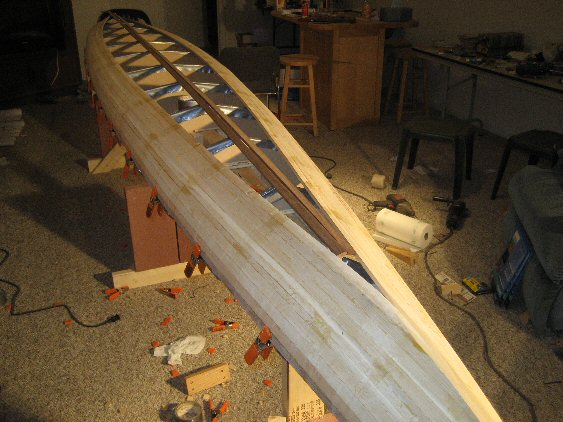
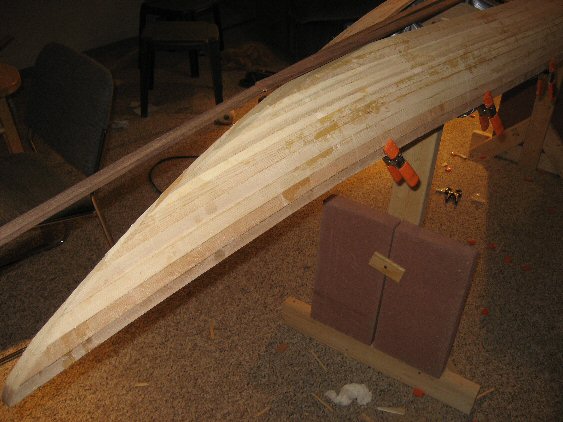
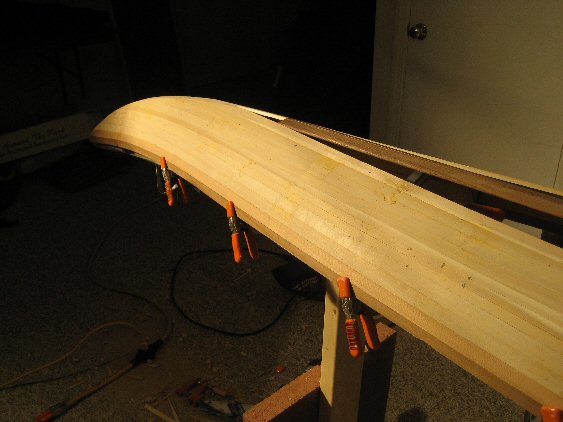
3-5-2007 Added a walnut accent strip from tip to tip. Bought 1/4" cove and bead router bits so I can make my own strips.
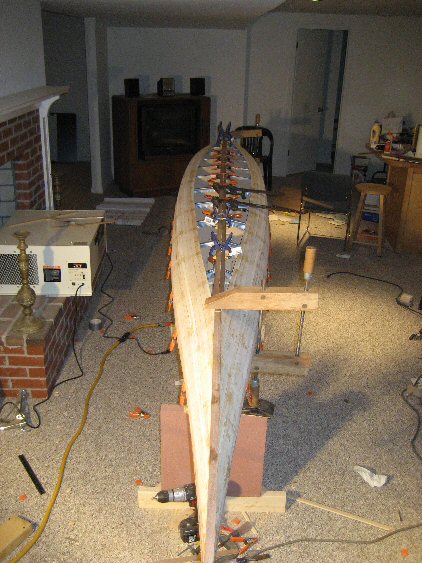
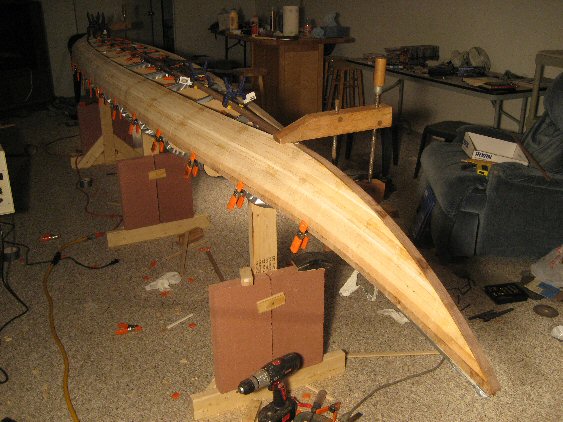

3-7-2007 Sanded the front and rear a little and added a strip in the middle
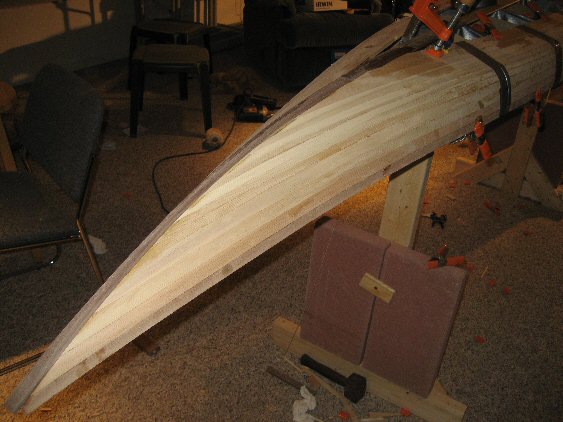
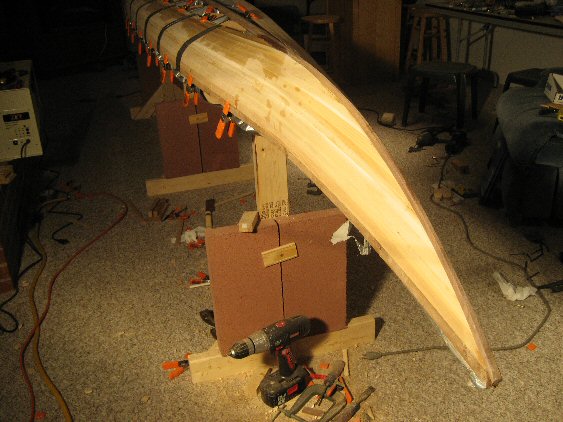
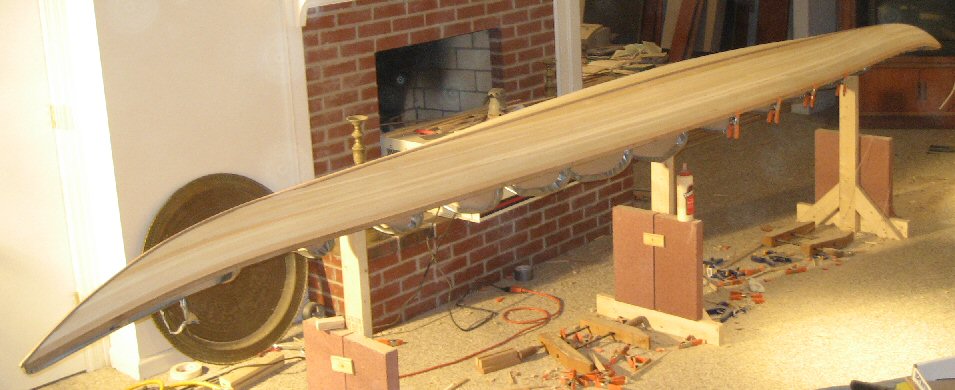
3-11-2007 Five more strips and the bottom will be done.
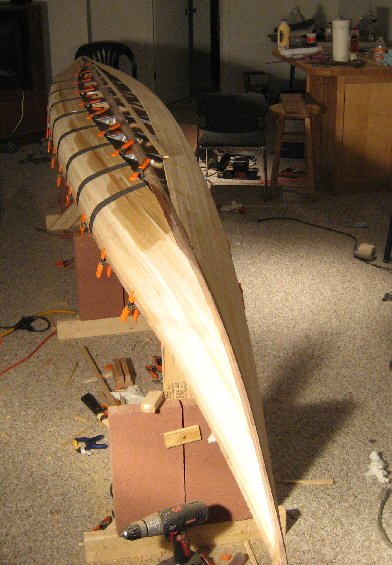
3-14-2007 couple more strips down the middle will finish the bottom. Some sanding after that then flip it over and do the top. I still have to design the top. I've got almost all the red and yellow cedar left. May incorporate some of the burled wood I have for turning.
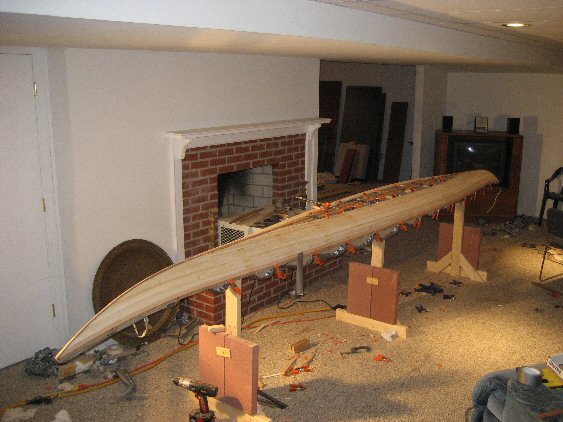
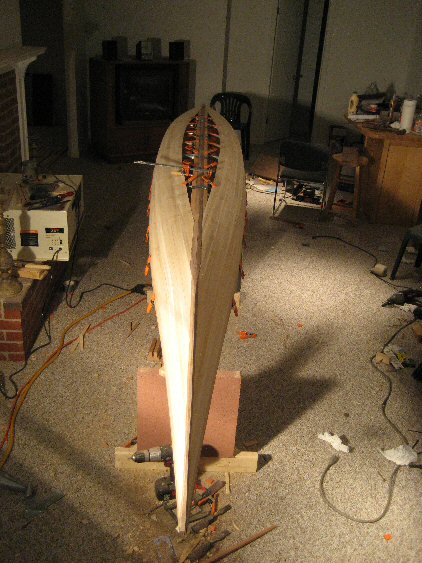
3-22-2007 Another couple of strips down the middle, three more to go.
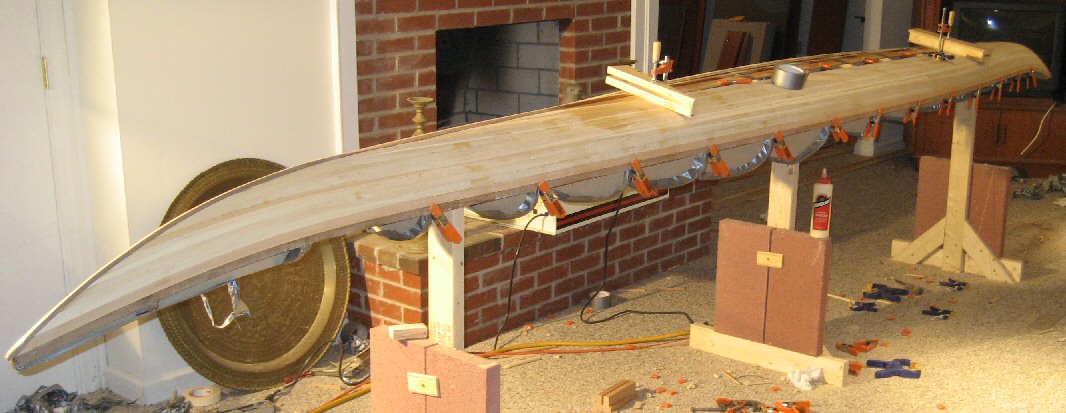
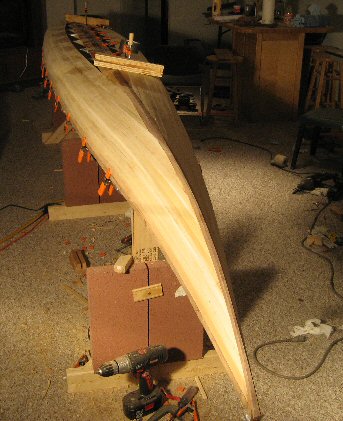
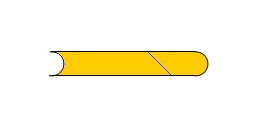
3/27/2007 One small slit left on the right side to complete the hull. The slit is about an inch wide at the center, about one and a quarter strips wide. This picture shows how I filled in the slit. Two strips were cut lengthwise with the bevel as shown. The left piece faces the center and is sized to fit end to end. The right piece took a lot of cutting, planing and sanding to fit because one side is curved. The left piece was glued in first then because of the bevel cut, the right piece could be pushed into place and glued. I did some more rough sanding on the left side.
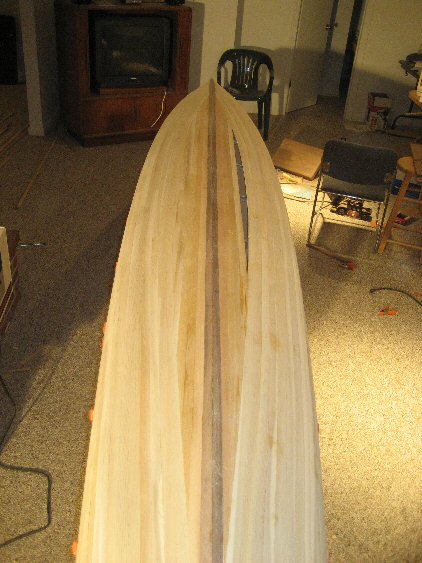
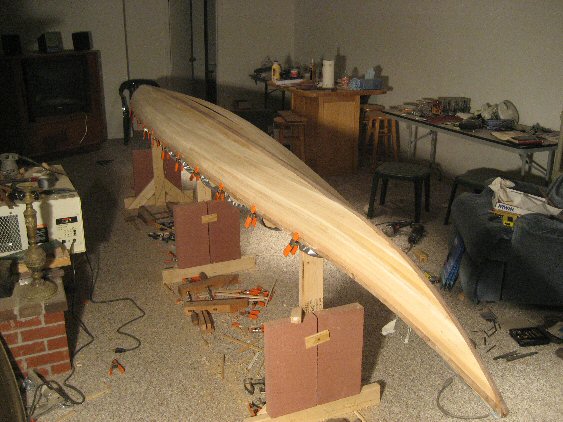
3/29/2007 The bottom is finally done. Still a lot more sanding to do.
