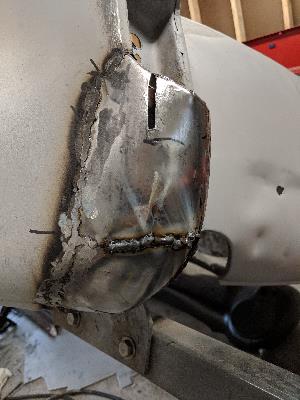


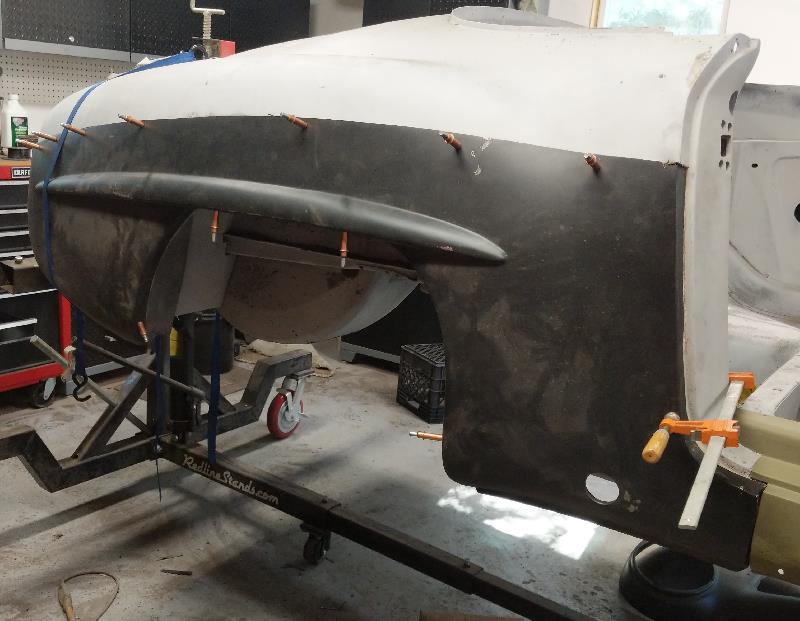
Now it was just a matter of welding the new piece in place and grinding it flat. That little lip at the bottom was a challenge in itself. It was curved and had to line up with the two ends. All of this entailed a lot of pounding and stretching the steel since it was a three dimensional bend. I had to then make a small piece to fill in the small slot shown in the upper right picture above. The final test was to make sure the tail light fit properly.

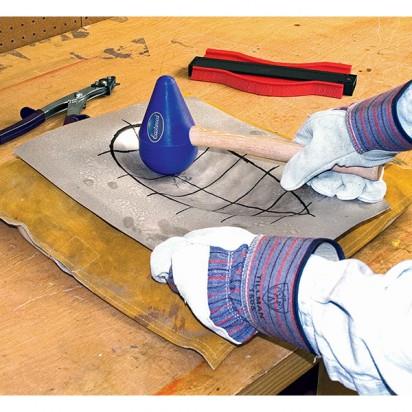
The beater bag I refered to is shown to the right. It is a heavy leather square bag that is filled with sand. You use a plastic mallet to pound the steel to three dimensional shape it. For larger pieces, the English Wheel would then be used to smooth out the dents created.
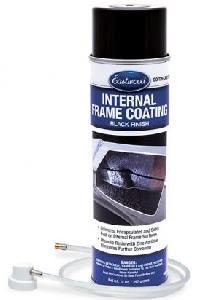
There are areas of the car frame that are pretty much inaccessible. I bought a can of the Internal Frame Coating shown to the right. It includes a long tube that you insert into the areas. The tip on the tube sprays the material all around the internal area. I did this on every area possible.
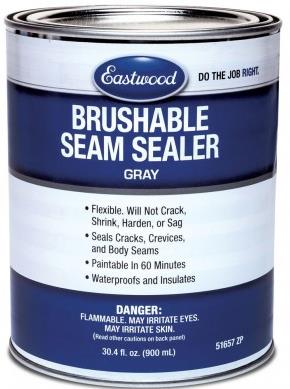
I also bought the Brushable Seam Sealer shown to the right. Not cheap stuff, $76 a can, but it appears to do a great job, applying over all the welds to ensure a perfect environment seal. I used this on internal areas, like an undercoating, as well as underside external areas.

Learning to do body work was a process of trial and error and watching how-to videos. One website I found to be extremely helpful was the Classic Car Restoration Club, https://www.classiccarrestorationclub.com/. They have different levels of membership up to $49/year. I opted the cheap membership then they offered the Premium for $8. They have hundreds of very good videos on welding, forming metal, painting, pretty much anything on restoring cars.

8-5-2019 I decided to flip the car over and work on the floor on the pasenger side. I first cut out all the rusted areas. I ground down the old welds and spot welds.
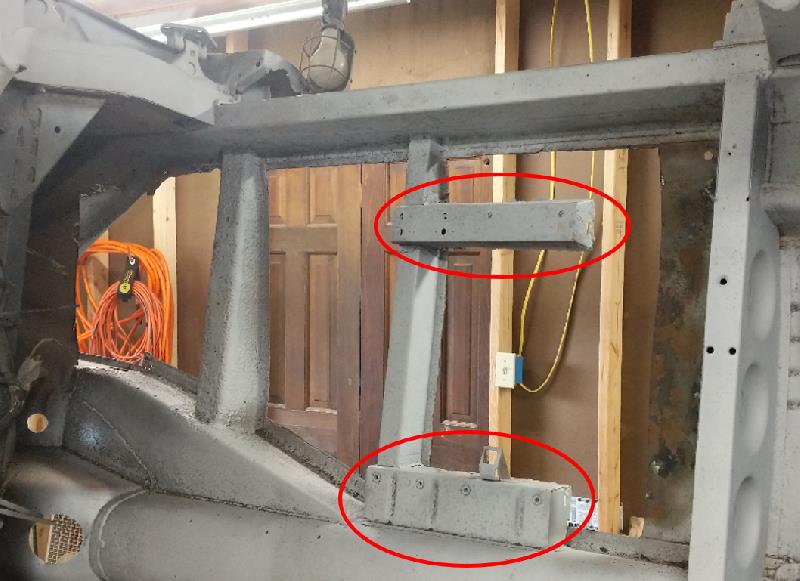
I'm buying new seat supports as the existing ones are rusted where they attach to the floor. They are circled in the picture above. Below are the new panels in place. There are actually three of them. On the drivers side, the floor where the seat supports are wasn't rusted.
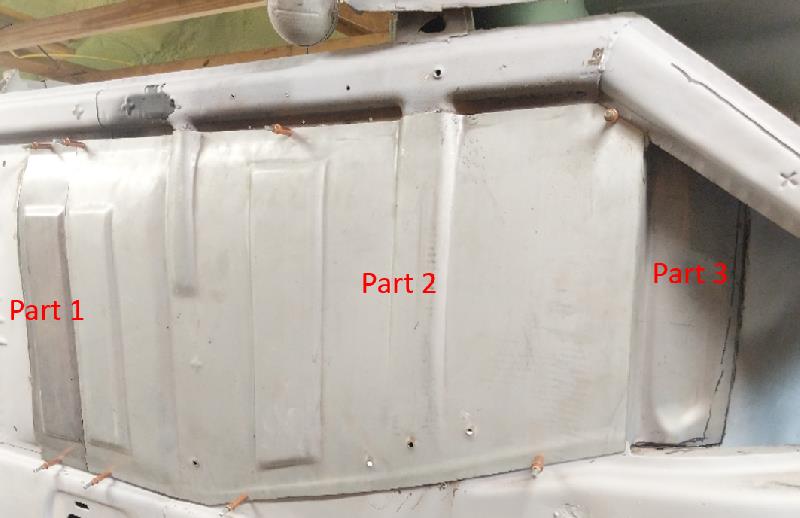
Parts 1 and 3 were larger but I cut them back to only what I needed. I can't start welding untill the seat supports come in. Before I do the welding, I'm going to clean inside the frame channels and spray it with a material that converts any rust, POR 15.
8/21/2019 I cut out the old passenger seat supports. I marked up the piece of wood shown below to align the new supports. The bracket on the right one had to be taken off the old one and welded onto the new one. They aren't welded in place yet.

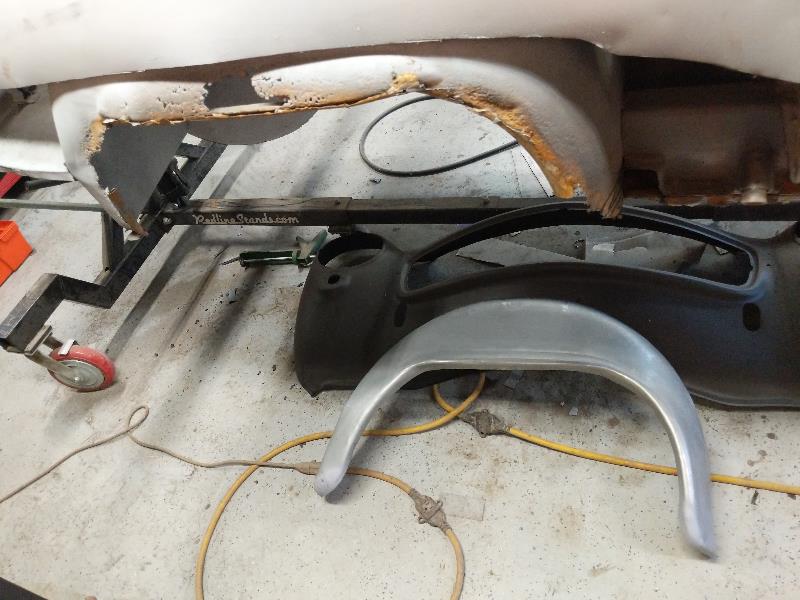
I also bought a new wheel well patch for the passenger side. There just wasn't enough left to even figure out what it should look like. I also bought the floor to the trunk. There were many areas where the steel was pretty think with spotty holes. So I'll cut these areas out the weld in new pieces.
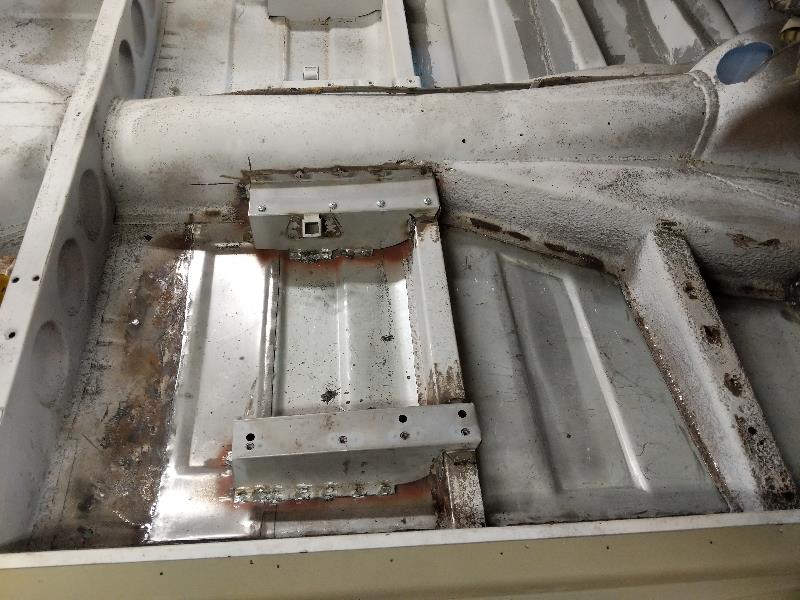
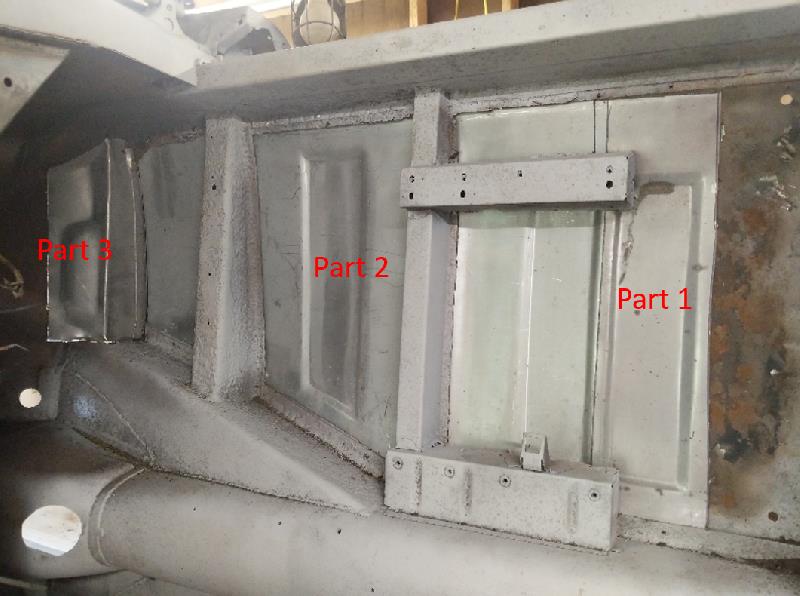
10/3/2019 It's been a little while since I updated the website. I welded in the passenger seat supports.
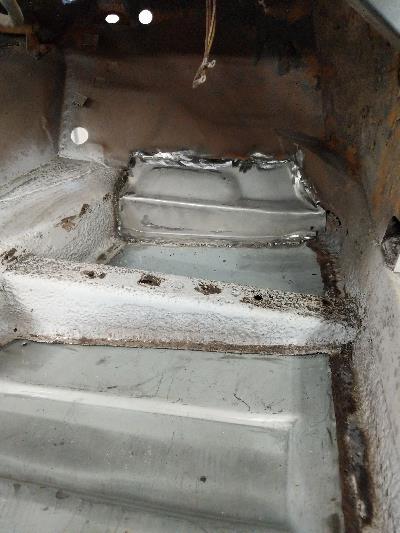
As well as the piece at the passengers feet.
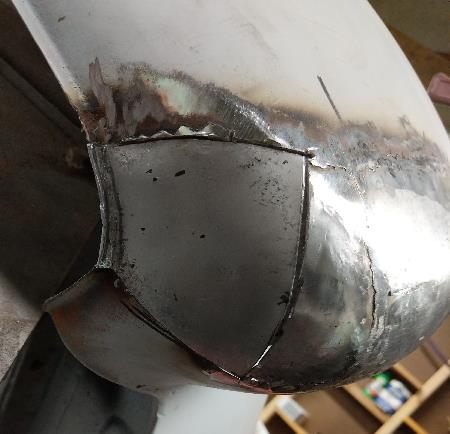
I put into place the wheel well patch and the quarter panel patch. I still have some fitting to do at the front and around the tail light.