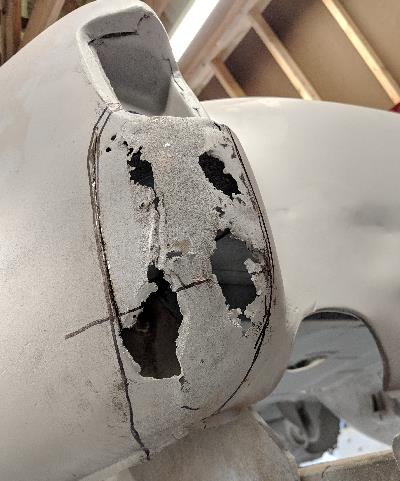
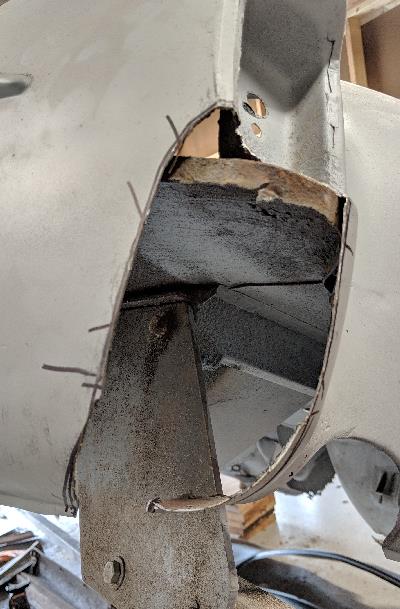
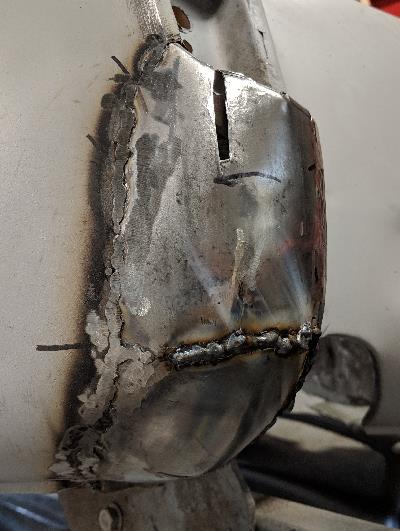
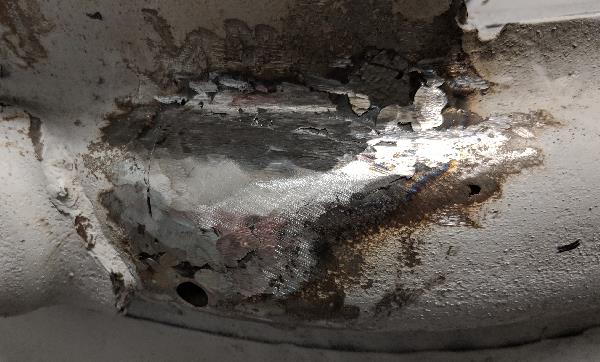
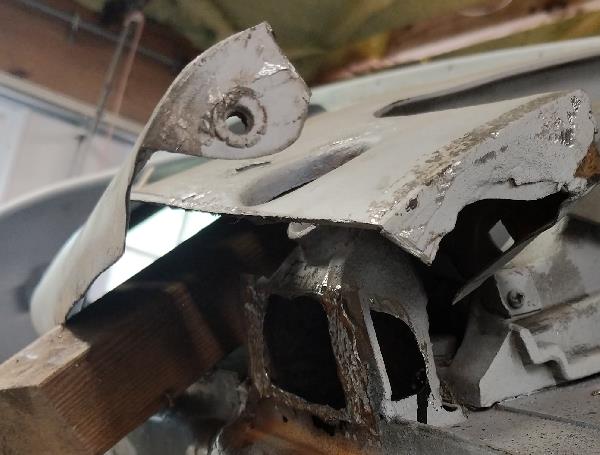
3-1-2019 Yes it has been about four months since I've posted anything new. That is for a good reason, nothing new happened on the car. So I'm finally back at it. The left picture below is the left rear corner of the car, below the tail light. So I cut out the area with all the holes and pounded and shaped two piece's to replace it.
It doesn't look that great but I've got more pounding, welding and grinding to do.
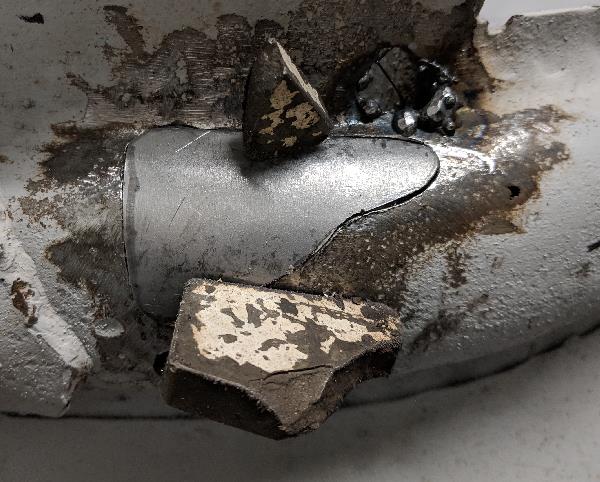
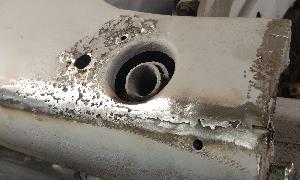
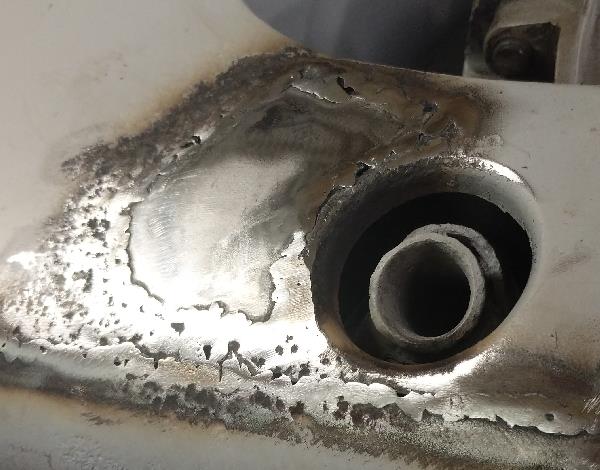
3-3-2019 - I started patching some small holes in the rear frame. After grinding a bit, a few small holes turned into a bigger one. I bent an ground a piece of steel to fit in the hole. Those ugly white and brown things are magnets holding it in place until I weld it.
Here is the patched hole after welding and grinding.
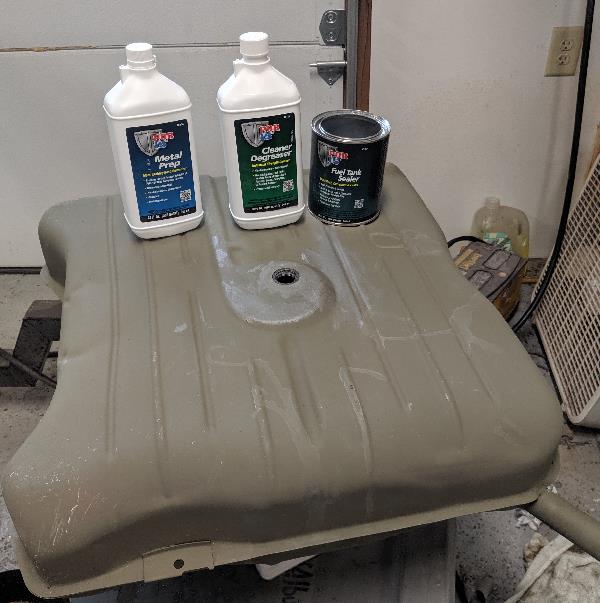
6/19/2018 Bought a gas tank kit from Eastwood. Three step process to clean, prep and seal the inside of the tank.
6/27/2019 Back to in front of the rear tire. I went to Star Motors and they had a 190sl in a bay. They let me crawl under it and take pictures. What I was looking for was if there was sheet metal on the inside under the jacking point. Both sides on my car were rotted out. It turns out, there is. So I made one and welded it in place.
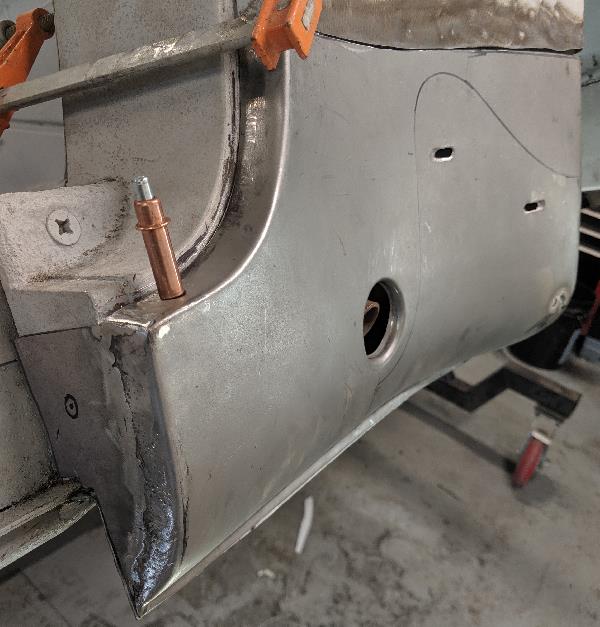
I also fabricated a piece for the front of the patch panel shown. This isn't seen, covered by the rocker panel, but prevents junk from getting in. The shapely pattern drawn on the patch panel and the two slots are for a chrome piece.
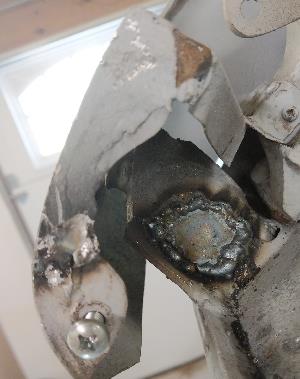
I also welded the piece shown below to the patch panel. I bought brush-on seam sealer and sealed what is covered up by the piece shown below. There are a few small holes I still need to fill. Then this new panel can be welded in place. This is a big deal as it will be my first weld in the outside body. That part where the large Philips head bolt is, is a large aluminum casting. So I need to find if a material goes between the steel and aluminum or if primer is enough to protect the interface.
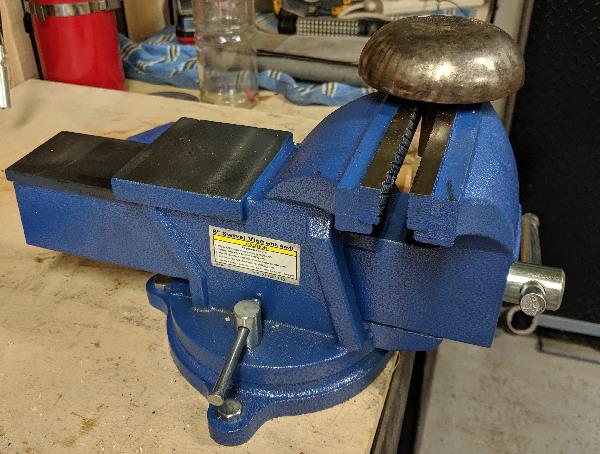
9/29/2019 I got tired of my wimpy 3" vise so I went to Harbor Freight and got a 6" one. The other day I bought from Eastwood a jig for the 6" vise for bending sheet metal.
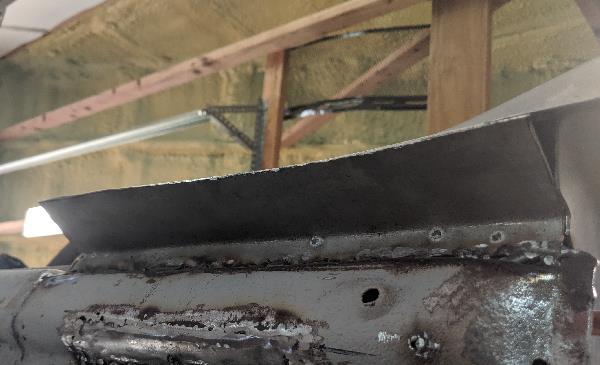
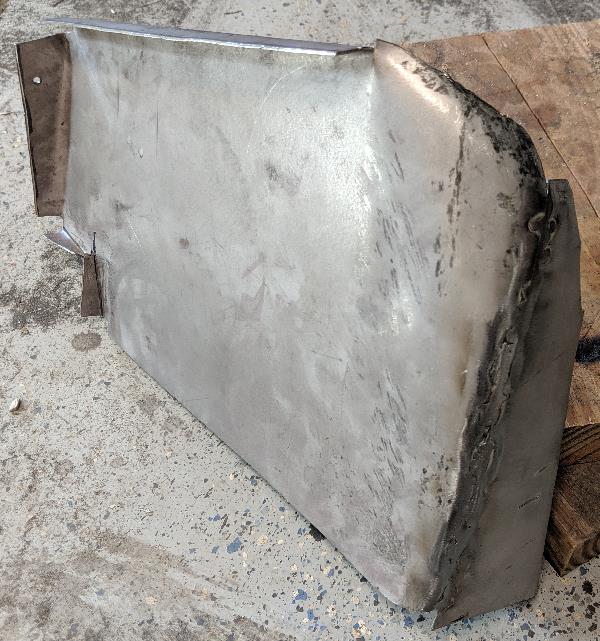
Now to behind the rear tire. I had fabricated the two parts below. I did some major tweeking to them and welded them together. That 90 degree angle flange at the top was bend with my 3" vise and a lot of bending and pounding. I straightened it out with the new vise jig.
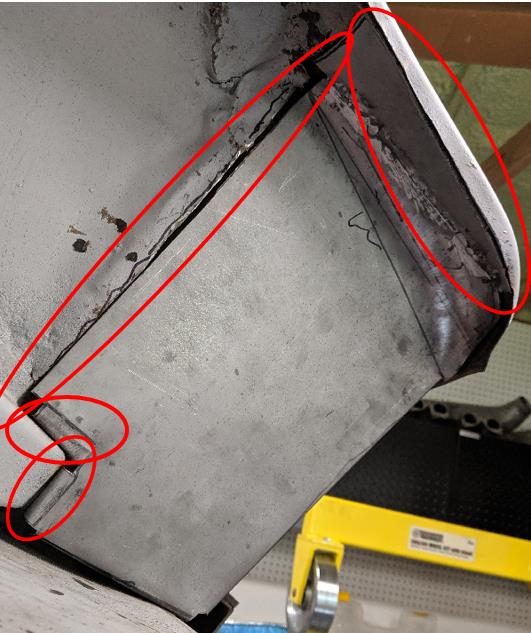
Here is the part in place. The two bottom flanges are welded to the frame on the other side shown. The other two long area are welded from this side.
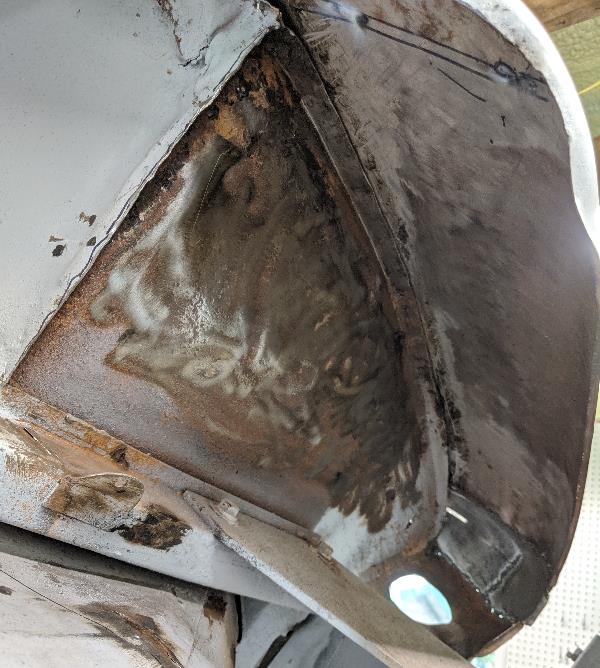
The picture below is of what is behind the picture above. You are looking at the left side of the trunk. There is a 1" flange on that part going along the rear quarter panel. They are not welded or even attached. Now I have to find out if they are supposed to be. A lot of bad stuff had been done to this car and I think this quarter panel was replaced. I can't go by the other side because it is in even worse shape. So I have to wait to weld the piece above in as it will make it a lot harder to weld if needed.
7/20/2019 The only way to get at the holes behind the front left fender was to cut the fender and move it out of the way.
Then after patching the two holes, the cut in the fender was welded.
7/24/2019 In preping for priming, I went around to weld any small holes. The two in the above right picture turned out to be more than it looks. There is severe pitting in the steel around the holes. So this meant cutting the area out and patching.
Time to prime all that bare metal with etching epoxy primer.
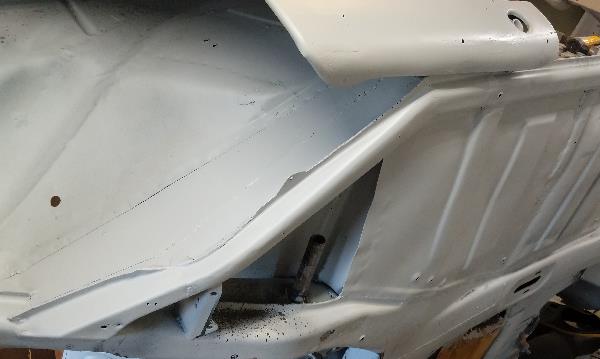
Inside the car primed too. Still need some work in here. I primed the rear of the car as well and the parts shown above dated 6/26/2019. I also primed inside the wheel well behind where those parts go. I had earlier sprayed that area with an Eastwood product that converts any rust in there to something stable and paintable. Once those two parts get welded to the car, the inner wheel well will not be accessable any more.
